I set out to create an open source, fully documented pool controller / computer using a Raspberry Pi Zero, Python and easily-available components. In this part 1 of 4, I’ll show you what I built, list the prices and stuff I bought and provide a link to the schematic I used for the project.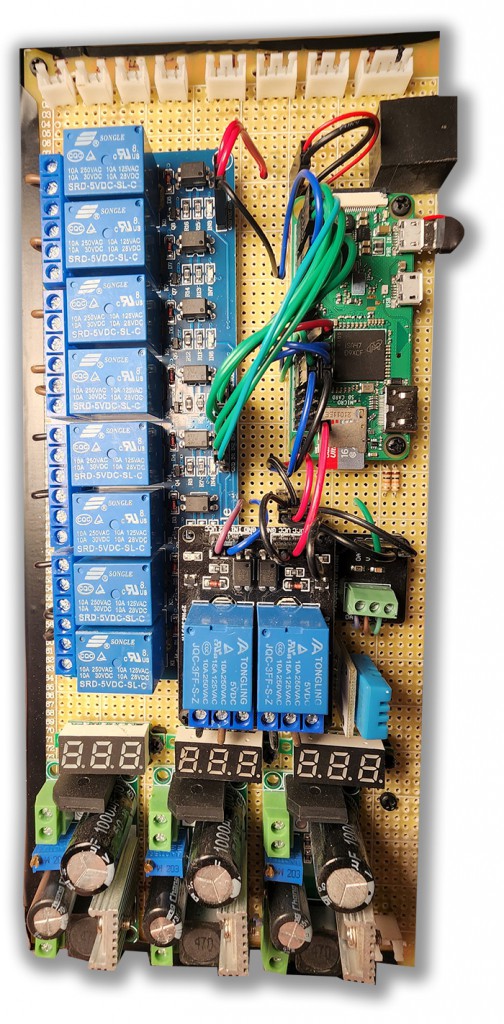

A Better Solution
About a year after purchasing our first pool home, our pool computer started to act sporadically and eventually not work at all. I was quoted $3-8k to replace the system. At first, I considered using simple timers or smart plugs, but I had recently created a few smaller raspberry pi projects, and thought this would be the perfect big project to sink my teeth into. It’s taken me about a year to get to this point, but someone knowledgeable with electronics and raspberry pis could probably whip this project out in a weekend if you had all the parts. I didn’t even have automatic valve actuators when I moved in, so I’m extremely proud with how it’s turned out, and especially happy with the money I’ve saved. Being able to turn on the jacuzzi while I’m on my drive home, or change settings from my phone, or just play with the touchscreen controls has been very rewarding. It controls the heater, the pumps, the lights, the valves and a few other bells and whistles like displaying the weather, logging temperatures and internal humidity and so much more.
| PART 1 PROJECT OVERVIEW |
PART 2 VIDEO WALKTHROUGH |
PART 3 BUILDING THE HARDWARE |
PART 4 BUILDING THE SOFTWARE |
Before we begin, I’d like to recognize those that came before me. There are quite a few other similar raspi pool projects online that helped me immensely in my journey. They are here, here, here, here and here. Each one was a bit different so my project is a bit of a mash-up of all of my favorite parts of each. I was on a budget so I didn’t replace everything and used what components were still working.
I am making all my code open source in the hopes that others can jump start their own pool automation system. I’m also going to be publishing a Raspian SD card image, a backup of what I currently have, which includes everything, including documentation. I’ll also be publishing the code on github in part 4. The code includes step-by-step instructions for configuring your raspberry pi, installing the dependencies/packages you will need, the crontab you’ll need to write, the systemd services you’ll need to program, and more. All this and more in Parts 2, 3 and 4!
Core Feature Elements
- The heart of CatalinaPool is a custom written Flask web application. It uses python, javascript and flask. It controls all the functions of the system and has an exposed API. The core site is a mobile-first site that contains all the controls so that we can control the system from our phones. The interior touchscreen uses the API.
- A custom built board consisting of a raspberry pi zero, 10 relays, thermometer, DHT sensor, and three voltage regulators, etc. – For v4 I’d love to print a custom PCB.
- Several python scripts that reset the relays, settings, etc and execute functions.
- Cron jobs trigger scheduled python scripts for daily filtering
- A self-contained graphical control panel written with HTML and jquery that can be used on tablets, but more importantly it’s pixel-perfect for another raspberry pi with the official touchscreen that is mounted by the pool to easily and quickly control functionality.
- Alexa functionality so that I can control basic functions via the Alexas in our house.

Controlling the Equipment
Connected to the board itself is a control panel with two buttons – service mode on and off. I plan on expanding this soon for more manual controls.
Inside the house, I have an official Raspberry Pi touchscreen running on a Raspi 3B. The GUI is based on a photo on my backyard. The animations for the water flow, steam, and bubbles add a nice polish. It’s a visually-intensive control panel that allows you to see everything that’s going on with with equipment. Data is sent via AJAX to the Pi Zero outside on the board. From water and air temperatures, to historical graphs, and pre-programmed tasks. The raspberry pi’s IP is port-forwarded to a dynamic DNS provider. More on this in the next part.
The Board
Valve Control Relays 4x (2 Relays needed for each valve actuator) – Optocoupled so that the raspberry pi doesn’t share the same 5v circuit
Heater control using 2x Relays (High, Low and Off) – Pentair “3 wire”
Main Pump Control 1x
Lights 1x
Booster Jets 1x
Waterfall 1x
Voltmeters 3x (I’ve had a few failures that have fried my equipment. Now I can monitor and hopefully catch issues)
Thermometer (drilled into outlet PVC)
Internal Temp and Humidity (DHT11 Sensor)
On/Off Service Mode Buttons on the Control Panel (Connected by Cat5 Cable)
Here’s the Parts List
| Name | Quantity | Picture | Price | Link |
| Adjustable Voltage Regulating/Reducing Module AC-DC | 4 | 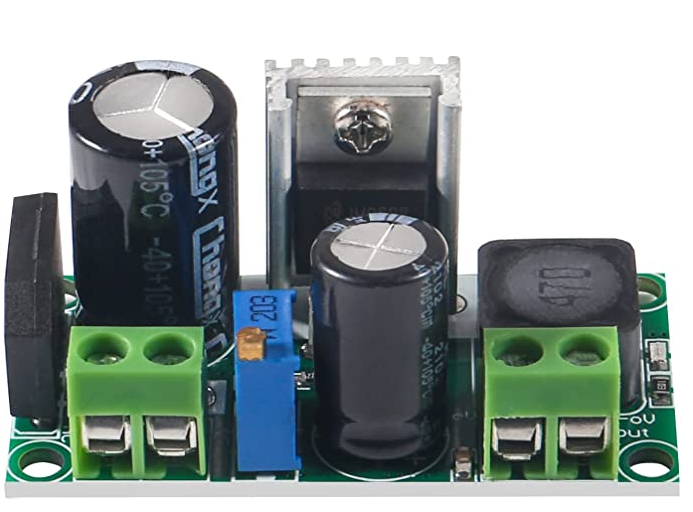 |
$11.99 for four | Amazon |
| 8 Channel Relay Board (or mix and match However many rely channels you need) | 1 |  |
$15 | DealsExtreme |
| DS18B20 Digital Temperature Sensor with Module | 1 | 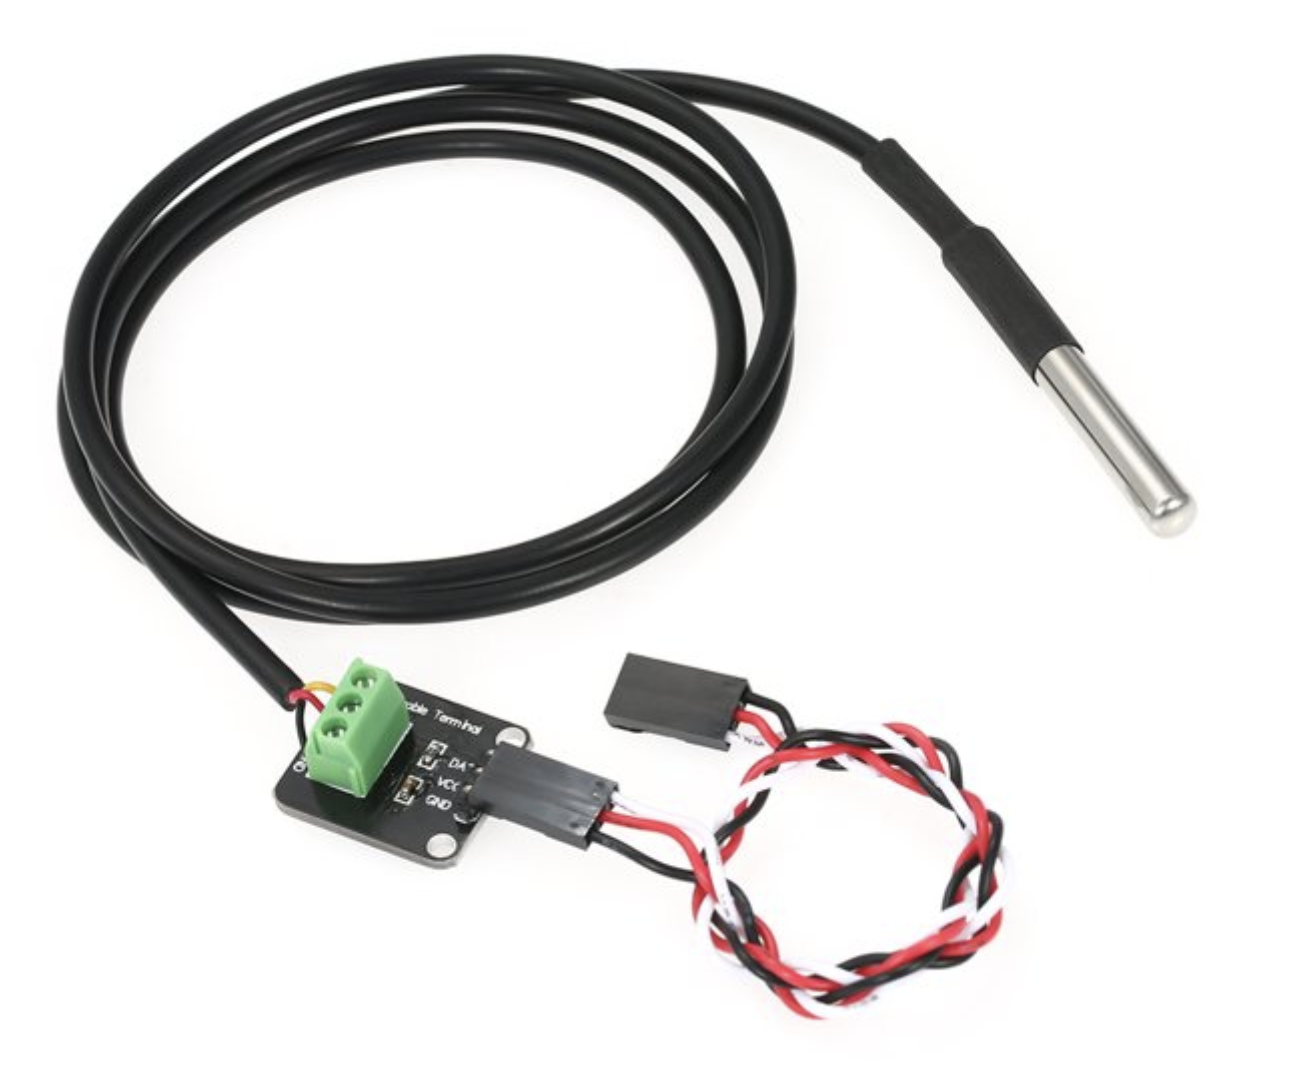 |
$10 | Amazon |
| M2 Nylon Standoffs and Screws Kit | 1 | 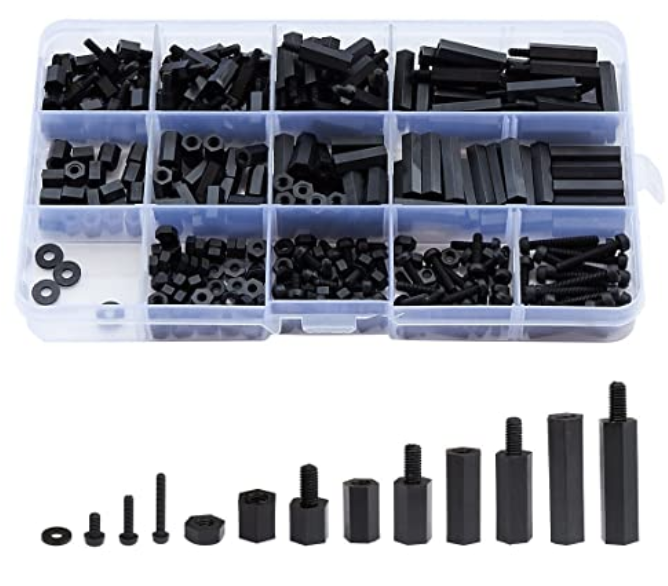 |
$14 | Amazon |
| PCB Board (Size to preference and need) | 1-3 |  |
$5-$25 | DealsExtreme 40Pcs DealsExtreme |
| Voltmeter | 3 | 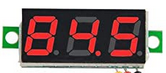 |
$13.99 for 5 | Amazon |
| RJ45 Connector Terminal | 1 |  |
(Something like the left) | Amazon |
| 24V Valve Actuators | 2 | 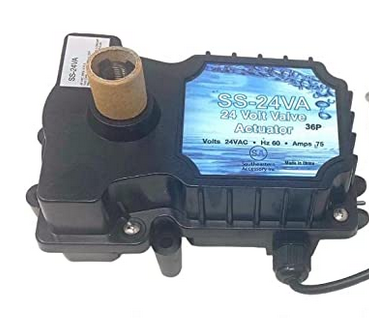 |
$100/ea | Amazon |
Just Getting Started and Want to Invest in Good Tools To Make Your Life Easier
| Solder Sucker | 1 |  |
$9 | Amazon |
| DuPont and JST Connector Kit and Crimper and Cables | 1 | 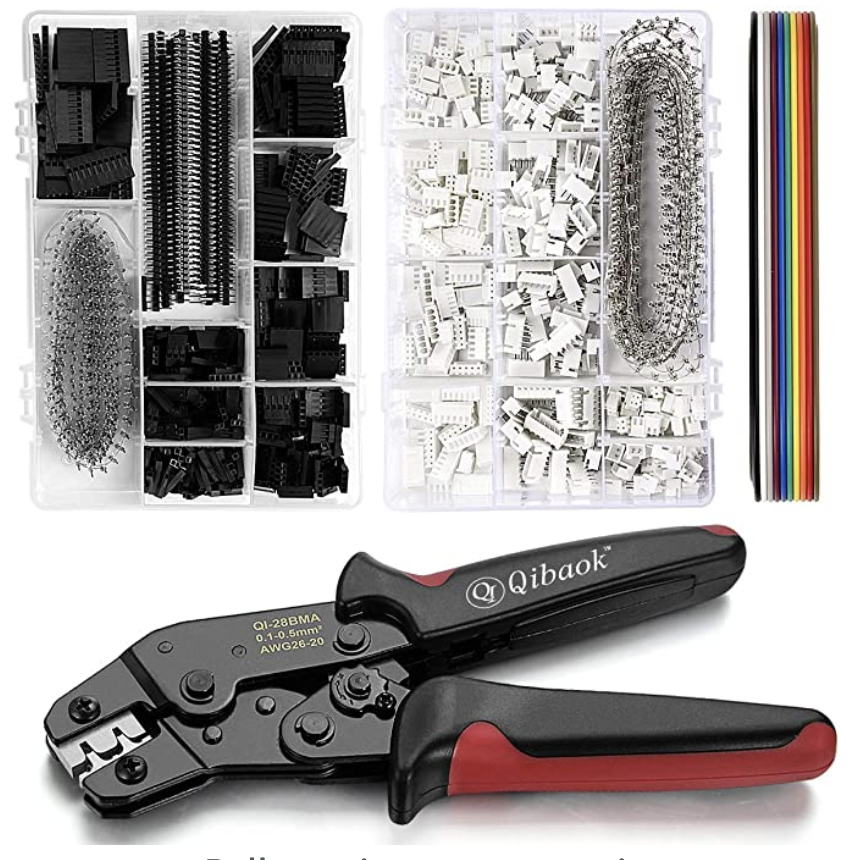 |
$38 | Amazon |
Recent Comments